
How to Play Spotify in Tesla? (Latest Guide)
Are you a music lover who enjoys driving around in your Tesla car? If so, you may be wondering how to play Spotify in your vehicle. With its impressive audio system and advanced features, Tesla is an ideal platform for streaming music on the go. In this article, we will guide you through the steps you need to take to play Spotify in your Tesla, so you can enjoy your favorite tunes wherever you go.
Tesla has become one of the most popular electric car brands in the world. Not only are they eco-friendly, but they also offer an excellent driving experience. One of the most popular features of a Tesla is its infotainment system, which allows drivers to access a range of apps and services. If you’re a Spotify user, you’ll be happy to know that you can easily play Spotify in your Tesla. In this article, we’ll show you how to do just that.
How to Connect Your Tesla to the Internet:
Before you can play Spotify in your Tesla, you need to ensure that your car is connected to the internet. To do this, follow these steps:
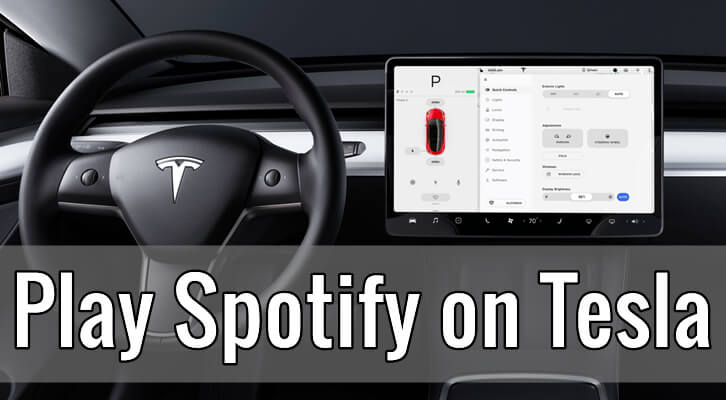
- Tap the Tesla ‘T’ icon on your car’s touchscreen.
- Tap ‘Settings’.
- Tap ‘Wi-Fi’.
- Select your home Wi-Fi network from the list of available networks.
- Enter your Wi-Fi password.
- Once connected, your Tesla will automatically connect to this network whenever it is in range.
How to Connect Your Spotify Account to Your Tesla:
Once your Tesla is connected to the internet, you can link your Spotify account to your car. Here’s how:
- Tap the Tesla ‘T’ icon on your car’s touchscreen.
- Tap ‘Media’.
- Tap ‘Spotify’.
- If you have an existing Spotify account, log in using your email and password.
- If you do not have a Spotify account, you can create one by following the on-screen prompts.
How to Play Spotify in Your Tesla: step-by-step
Now that your Tesla is connected to the internet and your Spotify account is linked, you can start playing music in your car. Here’s how:
- Tap the Tesla ‘T’ icon on your car’s touchscreen.
- Tap ‘Media’.
- Tap ‘Spotify’.
- Browse through your Spotify library and playlists to find the music or podcast you want to listen to.
- Tap the play button to start playing your selected track or playlist.
- You can also use voice commands to play Spotify in your Tesla. Simply say “Play (song/artist/playlist) on Spotify” and your Tesla will start playing the requested content.
Step 1: Connect to Wi-Fi
Before you can use Spotify in your Tesla, you need to connect to Wi-Fi. To do this, follow these steps:
- Go to the main menu on your Tesla’s infotainment screen.
- Click on the Wi-Fi icon.
- Select your Wi-Fi network from the list of available networks.
- Enter your Wi-Fi password.
Once you’re connected to Wi-Fi, you’re ready to move on to the next step.
Step 2: Download the Spotify App
To play Spotify in your Tesla, you need to download the Spotify app on your Tesla’s infotainment system. To do this, follow these steps:
- Go to the main menu on your Tesla’s infotainment screen.
- Click on the Apps icon.
- Scroll down and click on the Spotify app.
- Click on the “Download” button.
The app will download and install automatically. Once it’s installed, you’re ready to move on to the next step.
Step 3: Log in to Spotify
To use Spotify in your Tesla, you need to log in to your Spotify account. To do this, follow these steps:
- Open the Spotify app on your Tesla’s infotainment screen.
- Click on the “Log in” button.
- Enter your Spotify username and password.
- Click on the “Log in” button.
Once you’re logged in, you’re ready to start using Spotify in your Tesla.
Step 4: Start Playing Spotify
To play Spotify in your Tesla, follow these steps:
- Open the Spotify app on your Tesla’s infotainment screen.
- Browse for music or playlists that you want to listen to.
- Click on the music or playlist that you want to play.
- Enjoy your music!